Atari Like Synthesizer V1
What We Are Doing
We are going to make a rather simply Atari sounding synthesizer, the synthesizer has a 3.5mm audio out for headphones speakers ECT. There are a few effects 6 individual note with pitch adjustment, auto note play tracer with adjustable speed and indicators Leds, overall pitch adjusts, pitch distortion witch with adjustment and filter adjustment switch, so enough of this let’s get to making.
Parts Needed / Recourses
13mm MDF
3mm MDF
Wood Glue
Steel Wool
Clear spray paint / lacquer
Red Hook Up Wire
Black Hook Up Wire
Adhesive Velcro tape
solid core Wire
9V battery
9V Battery clip
Small Wood Screws
Adhesive Velcro Tape
4x Adhesive Rubber Feet
12x Screws 6mm By 25mm
22x Screws 2mm By 10mm
6x BC337 NPN Transistors
3x IC 555 Timer
1x IC CD4017
6x 5V SPST DIL Reed Relay
3x 8 Pin IC Socket
7x16 Pin IC Socket
2x Diode
2x 1K Ohm 0.5w Resistor
1x 2K Ohm 0.5w Resistor
1x 1.5K Ohm 0.5w Resistor
2x 100nF Capacitor => 16V
2x 10uF Capacitor => 16V
1x 1uF Capacitor => 16V
1x 470uF Capacitor => 16V
1x Defused Green Led
6x Defused Yellow Led
1x 3.5mm Switched Audio Jack
7x A100Kr Pot Log
1x B100Kr Pot Liner
1x B1Mr Pot Liner
1x A500r Pot Log
10x Pot Knobs
7x Small Toggle Switch Single Pole Single Throw
1x Micro Toggle Switch Single Pole Single Throw
2x Small Toggle Switch Double Pole Double Throw
7x Micro Switch SPDT
Tools
Drill
Files
Rotary Tool
Rotary Cutting Bits
Clamps
Drop Saw / Saw
Soldering Iron & solder
Drill Bits
Hot Glue Gun
Download
Atari_Like_Synthesizer_V1 Resources Download
Making The Case
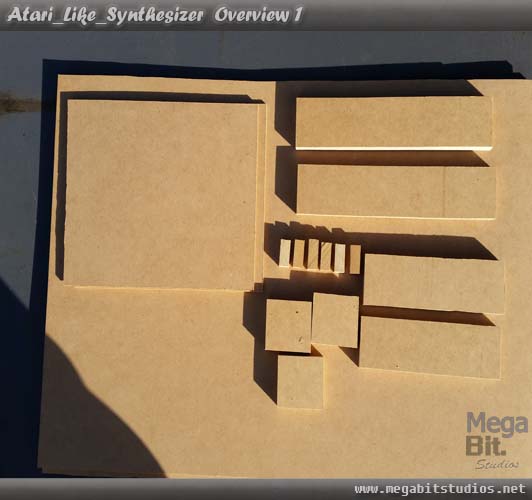
Start by cutting the MDF to size start with the 13mm cut 2 pieces 236mm by 50mm, 2 pieces 160mm by 50mm, 3 pieces 55mm by 50mm. then with the 3mm cut 2 pieces 236mm by 186mm.
Mark the guide holes on the 236mm x 50mm, 6mm in and 10mm down on all 4 corners of the 2 pieces.
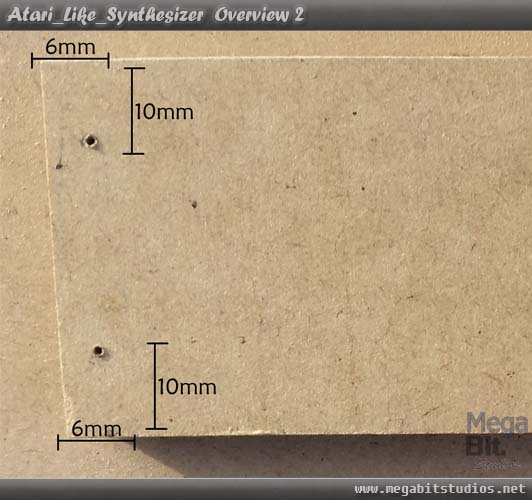
Drill the 4 corners with a 3mm drill bit, once you have the 4 holes on the 2 pieces, line them up with the ends of the 160mm by 50mm to make a L once you have them lined up drill threw the 2 pieces deep enough for the screw to go all the way in then do the same for the other 3 sides.
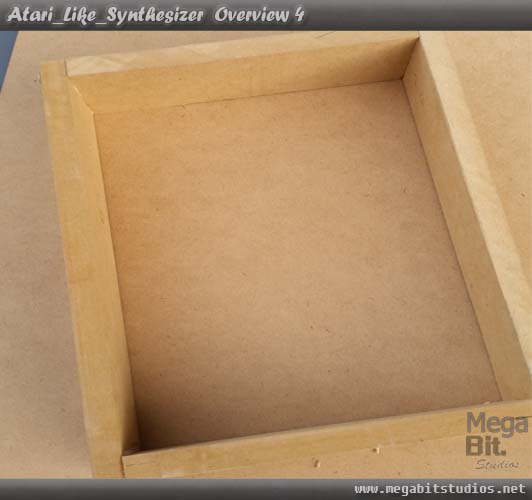
Once you have the 4 sides drill glue and screw them together using the 6mm by 25mm screws to make a box frame.
Now to mark the holes for all of the switches, LED and Pots take one of the 3mm MDF 236mm by 186mm and use the diagram below to mark all of the holes start by making a boarder 13mm off the edges.
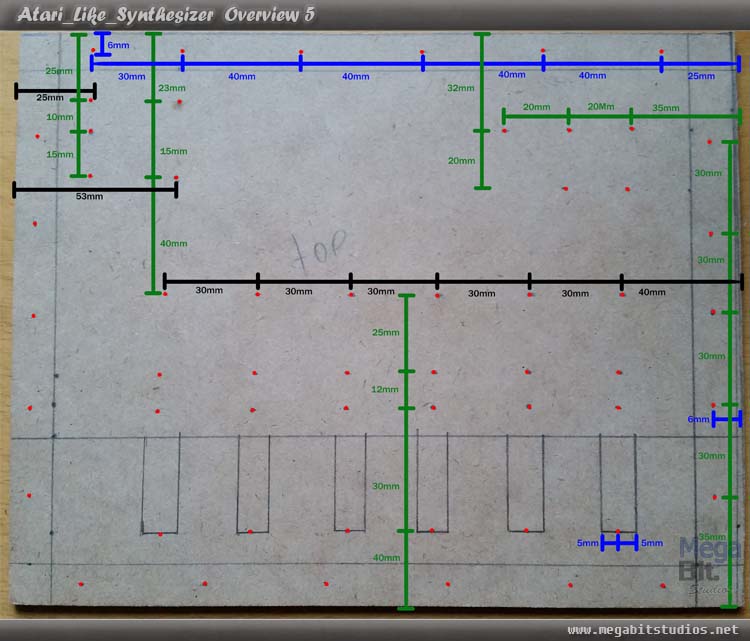
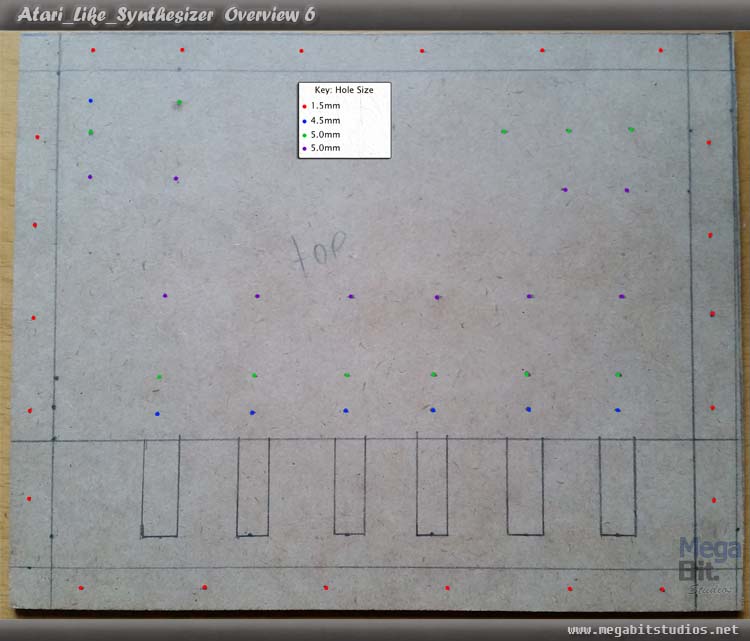
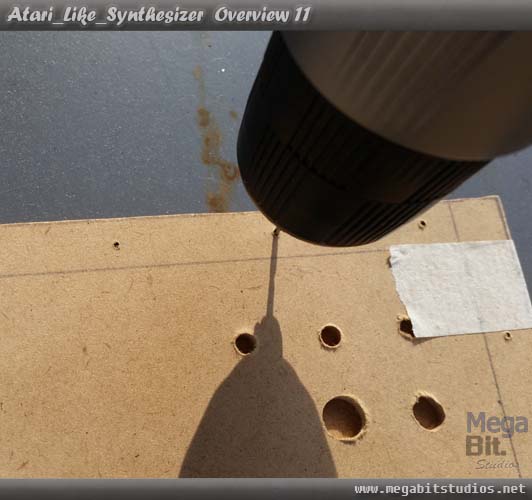
Now to drill all the holes use the diagram below to assist with sizes for the holes
Note: Your hole sizes may vary depending on brand and make of your components.
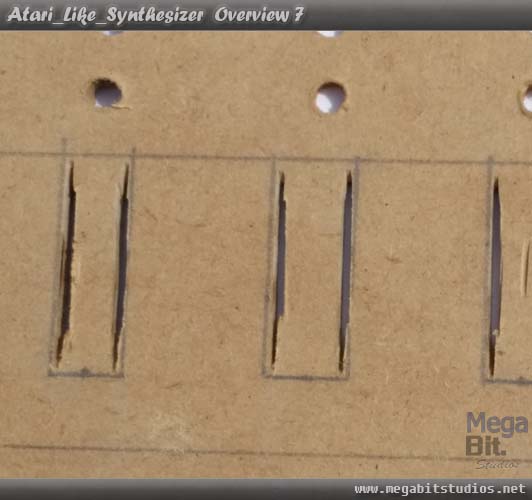
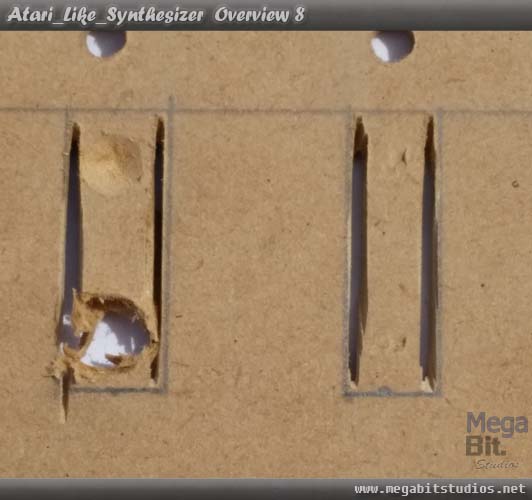
Now to cut out the squares for the note switches start by using the rotary tool to cut the 2 long sides of every note then use a 9mm drill bit to drill out the two ends once you have done this with all 6 keys and file everything to shape.
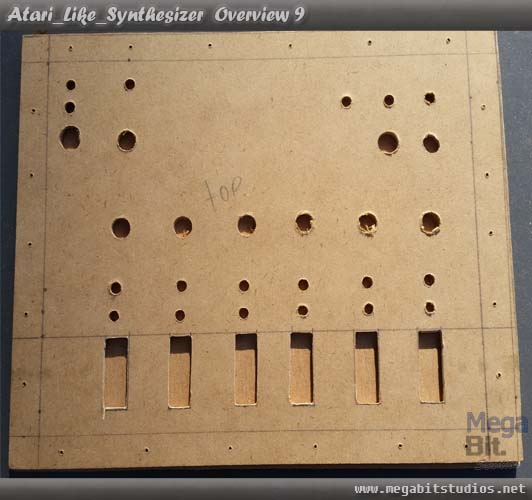
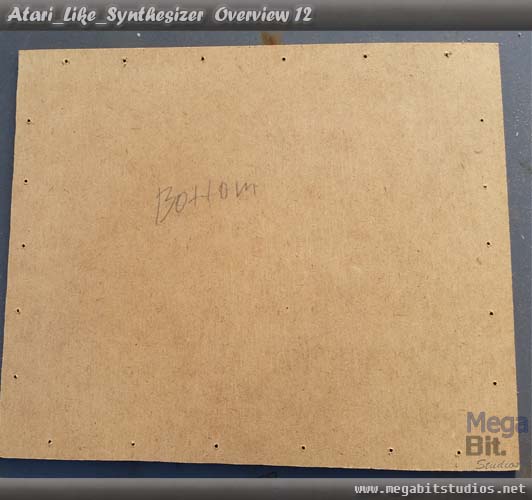
Once you have the 6 note holes to your desired shape use the top piece as a template to dill out all the holes around the edges for the bottom.
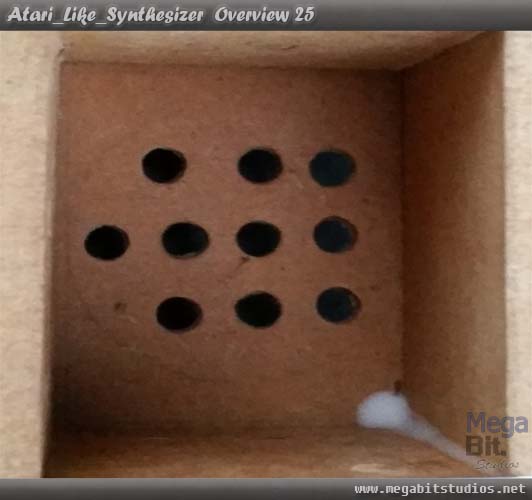
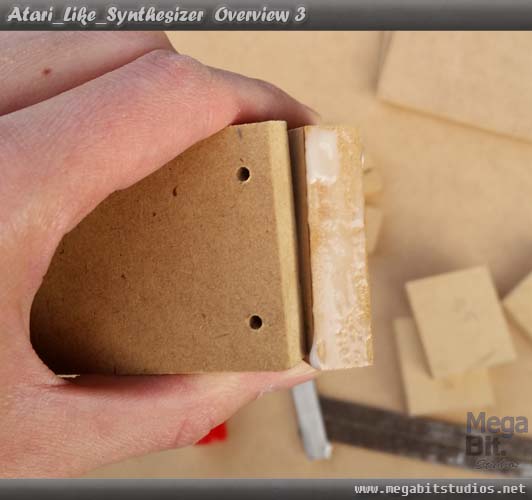
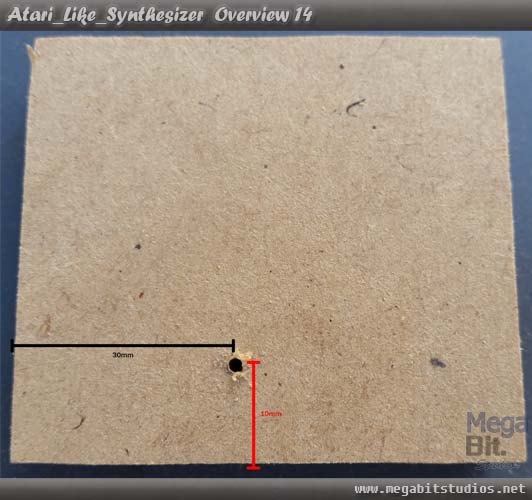
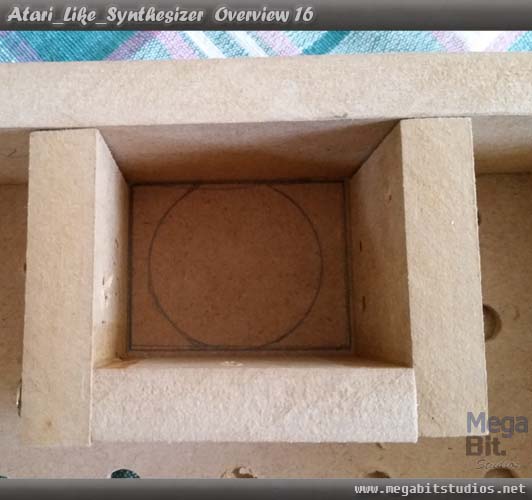
Construct the speaker housing from the 55mmX50mm use the diagram below for hole placement, use the 3mm drill but to drill out the holes, once drilled glue and screw the 3 pieces together.

Drill a single hole in the front piece.
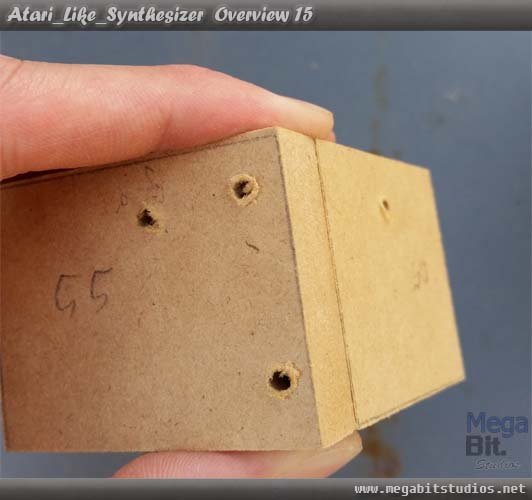
line up the end and drill them like we did before, To finish it off screw and glue the 3 pieces together like before.
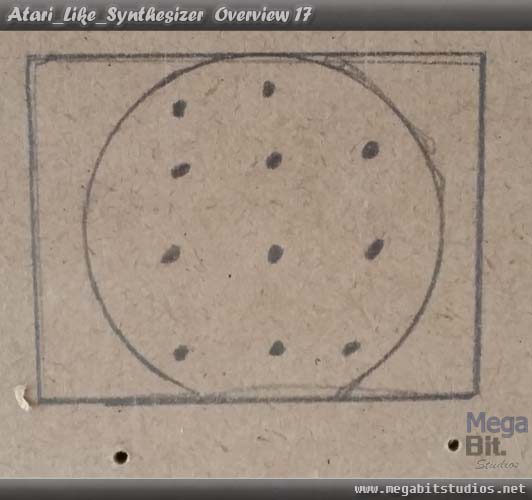
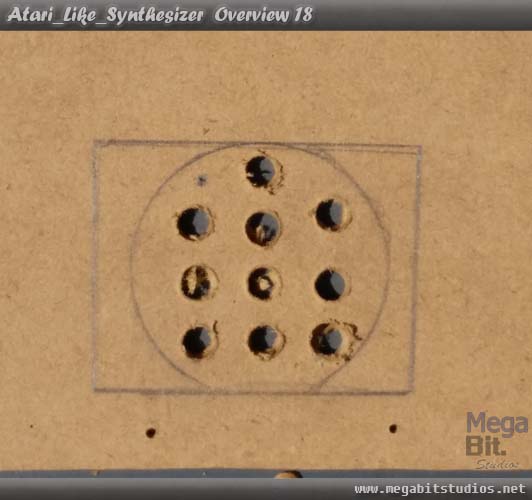
Mark the position for speaker box when doing this keep in mind to leave room for the potentiometers, line the speaker up in side this square and mark its position then plot out some holes for the speaker once everything is all marked out drill the dots you just plotted out with a 5mm drill bit.
Making Everything Pretty
Now that everything is together give it all a good file and sand, once you are happy with the boxes hit it with the lacquer or clear spray paint leaves the first coat to dry for 2-4 hours or when dry to the touch then apply the second coat and leave this to cure for a day. once everything is dry give everything a good run over with a piece of steel wool.
Note: you want to leave the marking for the location of the speaker box
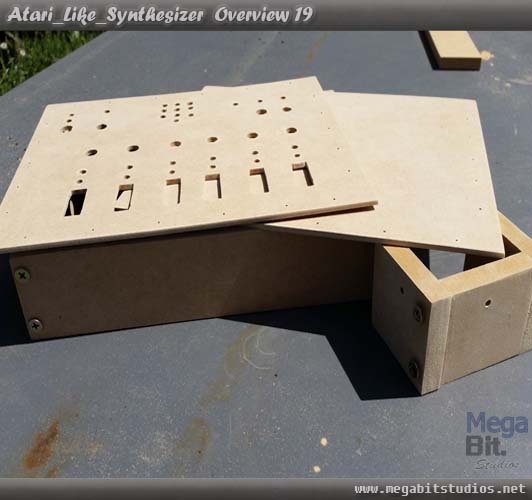
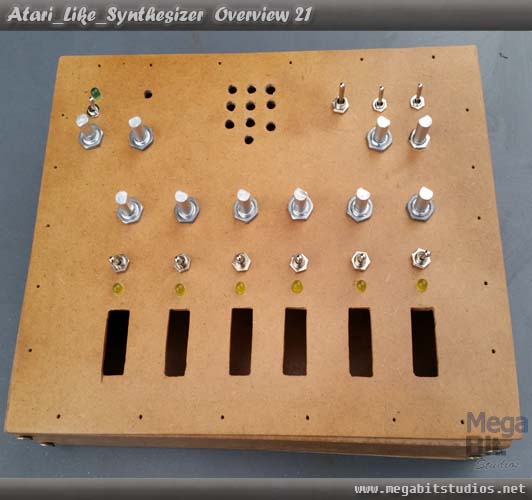
Now we have the box looking all nice retro fit all the parts to the front panel, you may find when attaching the parts, you might need to redrill some of the hole to make then the right size again.
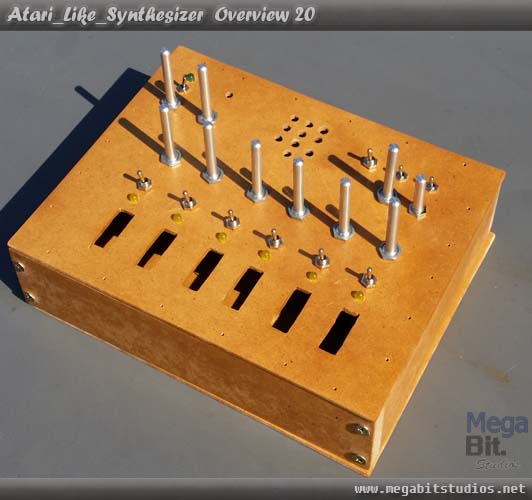
Remove all of the pots and trim them down to 20mm from the base of the pot.
NOTE: The size may be different depending on the size of your knobs and may not need to be cut depending on the pots.
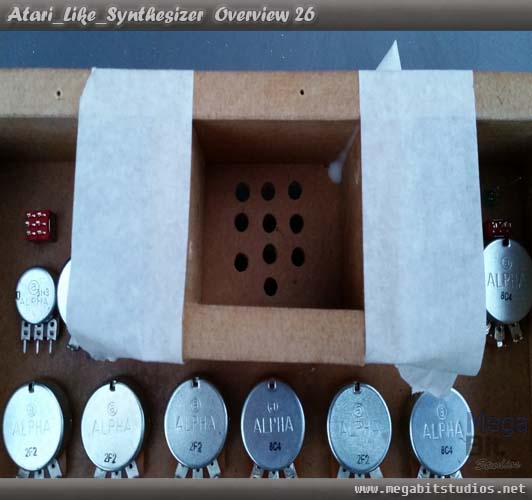
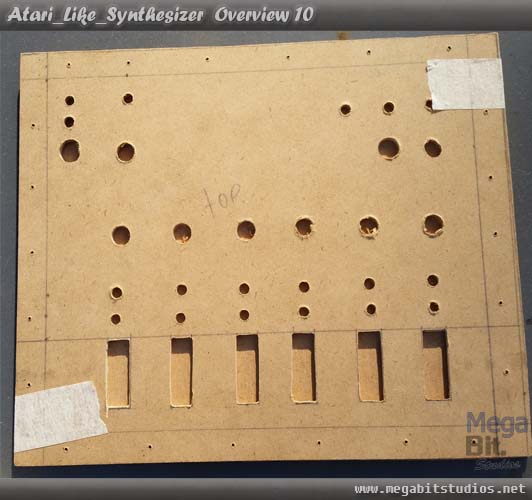
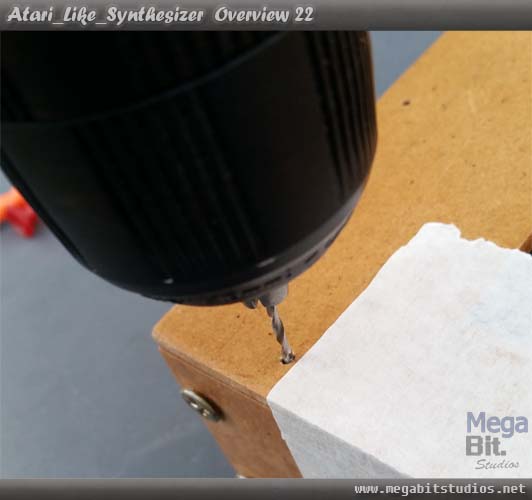
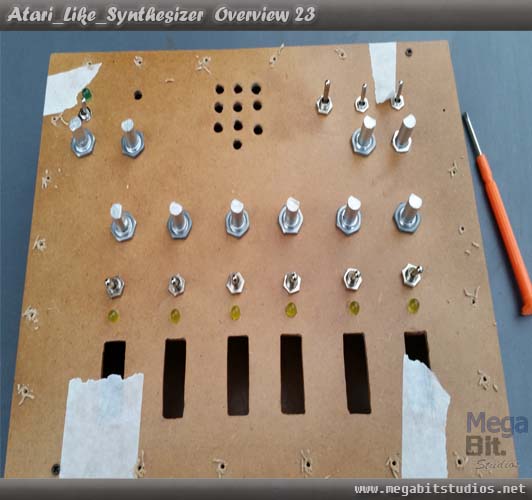
Now to attach the front and back to the box, line the front panel up with the corners and then use some masking tape to keep it in place, drill out the top right and bottom left corners with a 1.5mm Drill bit then put the 2mm by 10mm Screws in place then drill out all the other holes and repeat the same for the back.
Remove the back and glue and tape the speaker box in to passion use the line we marked before to help put it in to passion leave to dry for 12 hours once dry remove the tape.